I wanted to practice my instructional writing. My recent discovery of a banana bread recipe, found at https://kirbiecravings.com/healthy-banana-oatmeal-bread/, has inspired me to share my lessons learned and customizations.
Instructional Planning
- Learning objective: At the end of the instructions, a learner will be able to make either a banana bread loaf or multiple mini muffins.
- Audience: Adults or a child under the supervision of a parent.
Introduction
There are six steps in making either the banana bread loaf or mini muffins.
1. Decide
Which will you make?

- Loaf – One traditional 4X8 loaf that you can easily slice for snacks, breakfast, or desert.
- Mini muffins – Make 48 to 54 mini-muffins that you can take on a bike ride as fuel or include in your kid’s lunch.
2. Prepare
Get your tools and ingredients ready.
2.1 Tools

You will need the following tools.
- Oven for baking.
- Oven thermostat to ensure the temperature is right.
- Blender for mixing the wet and dry ingredients separately.
- Small bowl to hold the bananas when you weigh them.
- Mixing bowl to blend the ingredients.
- Spoon and a rubber spatula to scrape the bowl.
- Scale to weigh the bananas.
- Pans: 4 X 8 loaf pan or mini muffin pans.
Note: The baking temperature and time assume metal pans. - Paper: Parchment paper for the pan or mini muffin paper cups.
Note: Even non-stick pans shown in the picture above are not non-stick enough given the ingredients. With experience, I recommend paper linings.
2.2 Ingredients
The ingredients that form the foundation of this recipe are from https://kirbiecravings.com/healthy-banana-oatmeal-bread/. I experimented and customized the recipe.
2.2.1 Wet Ingredients

There are only two wet ingredients.
- 360-370 grams of peeled bananas – The bananas I use are slightly soft and brown spots. I’ve used bananas that are slightly less and more ripe.
Note: It’s worth weighing the bananas. Too much, the bread is mushy. Two few, it’s dry. - Two eggs – As for the eggs, the original recipe called for 2 medium eggs. I’ve been using 2 large eggs and it works out fine.
2.2.2 Dry Ingredients
There are two required dry ingredients.
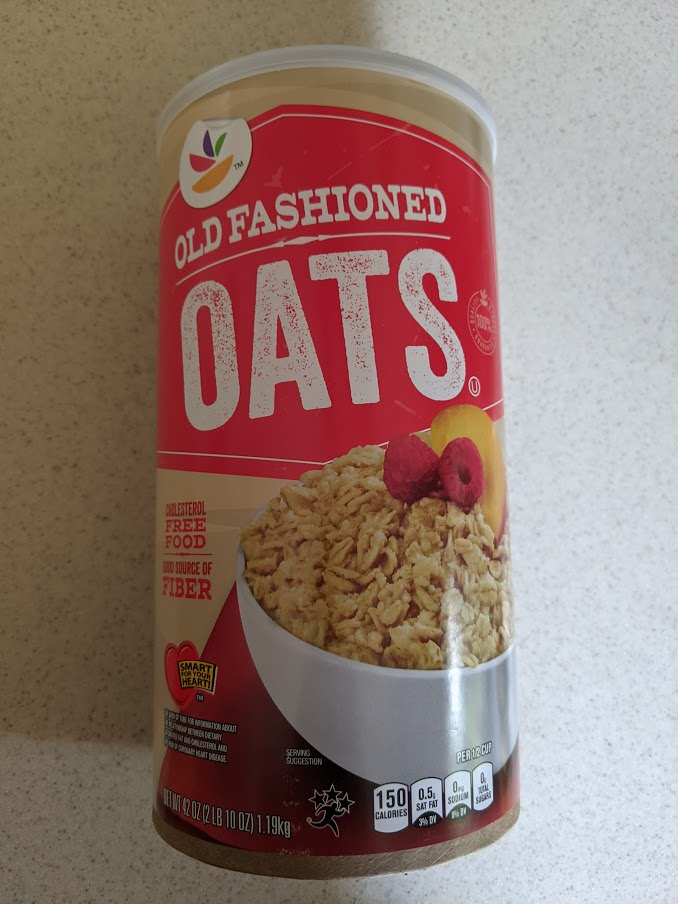
- 2 cups rolled oats – The brand doesn’t matter but you want to use Old Fashioned Oats.
- 1 tsp baking soda
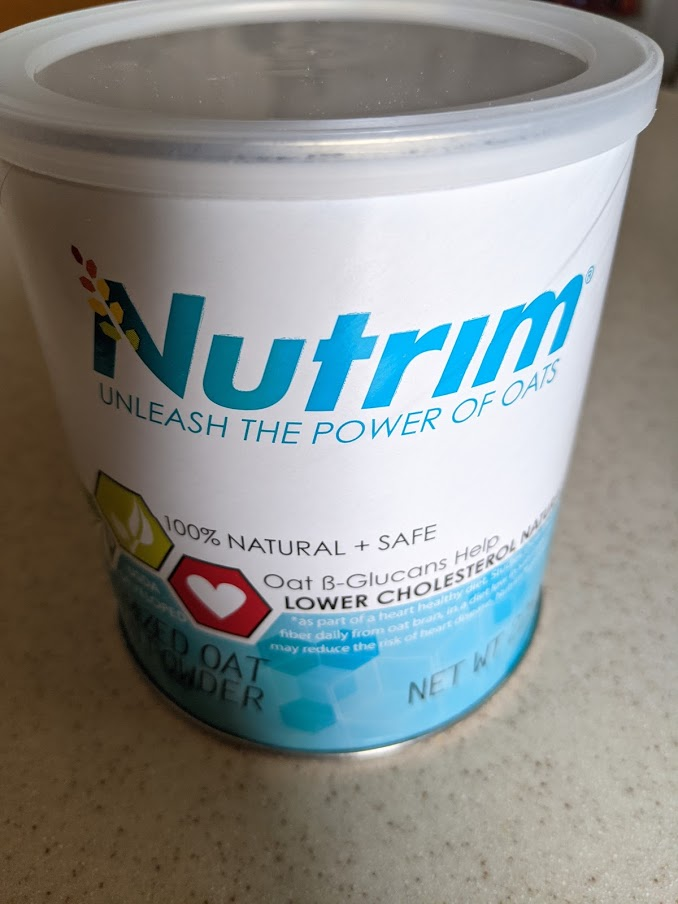
For added nutrition, we add two scoops of Nutrim: the heart healthy beta glucans found in oats.
Other optional ingredients inspired the recipe name. The nuts and chocolate chips are from the original recipe.
- ½ cup of chopped walnuts
- ½ cup of chopped almonds
- ½ cup of dried cranberries
- ½ cup of raisins
- ½ cup of mini semi-sweet chocolate chips – elevates the bread to a desert. Update: try mini M&Ms. Just did a hot ride and got chocolate on my fingers.
The bread is good with the optional ingredients. It’s not as sweet as a traditional banana bread recipe but still enjoyable. I find adding these ingredients makes the perfect long bike ride fuel and of course, a yummy banana bread.
3. Assemble
3.1 Preheat Your Oven

Preheat your oven to 350 degrees for the loaf or the mini muffins. My oven is notorious for under heating so I add a few degrees and use a separate thermostat to ensure the right temperature. I didn’t do this with my first loaf and learned my lesson.
3.2 Mix Dry Ingredients

Place the oats, baking soda, and optional Nutrim in the blender. Mix on low for 10-15 seconds. Pour into a mixing bowl.
3.3 Mix Wet Ingredients and Add to Dry Ingredients

Put banana chunks and eggs in the blender. Mix until smooth. Pour over the dry ingredients and blend with a spoon.
3.4 Optional Homemade Trail Mix

Add the trail mix ingredients of your choice. Blend with a spoon.
3.5 Prepare Your Pans

Before this recipe, I had never used parchment paper. It took some experimenting to learn the best way to line a loaf pan with the paper.
- Loaf pan – Cut the parchment paper long enough to wrap around the sides and bottom of the pan. Cut the paper straight in (as shown in the picture). I tried a diagonal cut. Straight in is the easiest way to make the paper fit.
- Mini muffin – Fill your mini muffin with paper cups.
Note: I found these in the baking section of my grocery store: 100 cups for $1.40.
3.6 Fill the Pan
Filling the pans is fairly easy but here is what I have experienced.
- Loaf pan – The batter is dense so pouring is not possible. I use a rubber spatula to scrape the batter from the mixing bowl into the loaf pan.
- Mini muffin – When filling the mini muffin cups, I use two spoons: one to scoop and one to push the batter into the cup. The bread doesn’t rise very much, if any, but I try not to fill the cups too high. The number of muffins is influenced by how full you fill the cups.
4. Bake

The time differs, obviously.
- Loaf – 35-40 minutes. I find 40 minutes works best for my oven. When I make a loaf with very overripe bananas, I add a minute or two.
- Mini muffins – 14-16 minutes. I can easily fit five pans at once in the oven.
5. Cool
I cool my pans on racks. It makes the cooling process faster. Allow 10-15 minutes to cool while in the pan. Then remove the loaf or muffins from the pan and allow to cool on the racks. Remove the paper from the loaf when it is cool.
Do not put in plastic containers until completely cool. Condensation can form.
Also, the mini muffins freeze nicely. I haven’t tried freezing a loaf, but I assume it would do well.
6. Eat
Eat your bread anyway you want to, but here are a few ways worth trying.
- Loaf – I like to microwave a slice for about 10 seconds and then smear with peanut butter. Makes for a hearty breakfast.
- Mini muffins – When it’s time for a bike ride, I peel away the paper cup and carry them in a snack size zip lock bag. I find four muffins are good for an easy, two-hour ride.

isotretinoin for sale[/url]
LikeLike